Implementation of Outbox Pattern in Spring Boot
In distributed systems, we generally face the challenge of keeping our databases and external systems in sync. For instance when we create an order we …

In this long blog, we are going to improve our git knowledge. I will try to explain the some concepts behing the basic things in git. Writing perfect commint, choosing branch strategy, merge vs rebase etc …
Let’s start with commits. It has two parts:
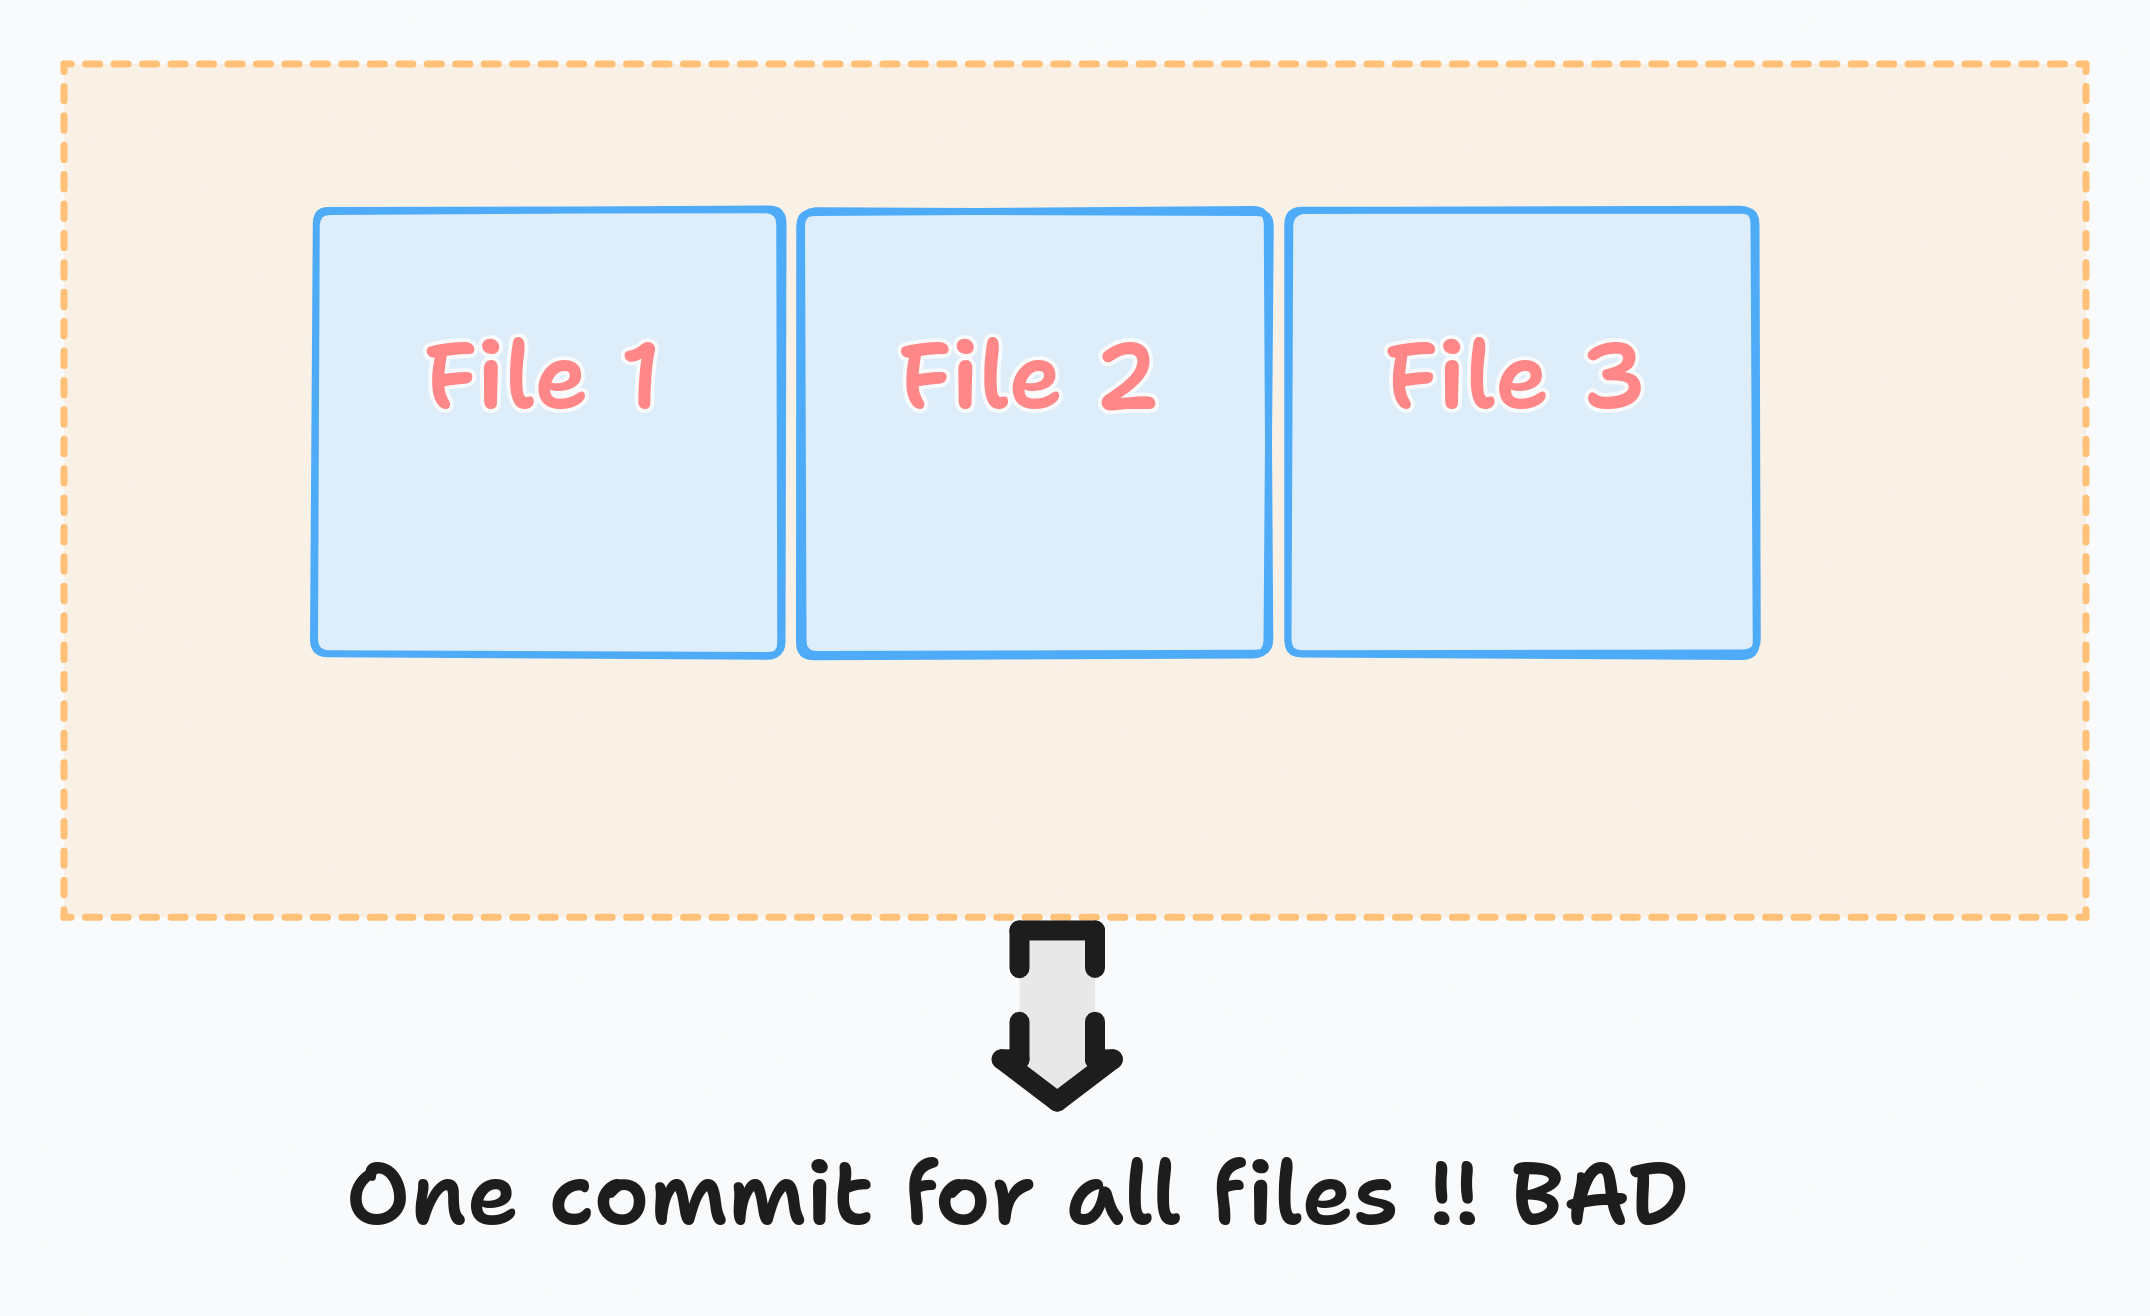
We should create a commit that makes sense which includes changes from a single commit
We shouldn’t create only one commit with includes all changed files :
It is better to separate commits like this:
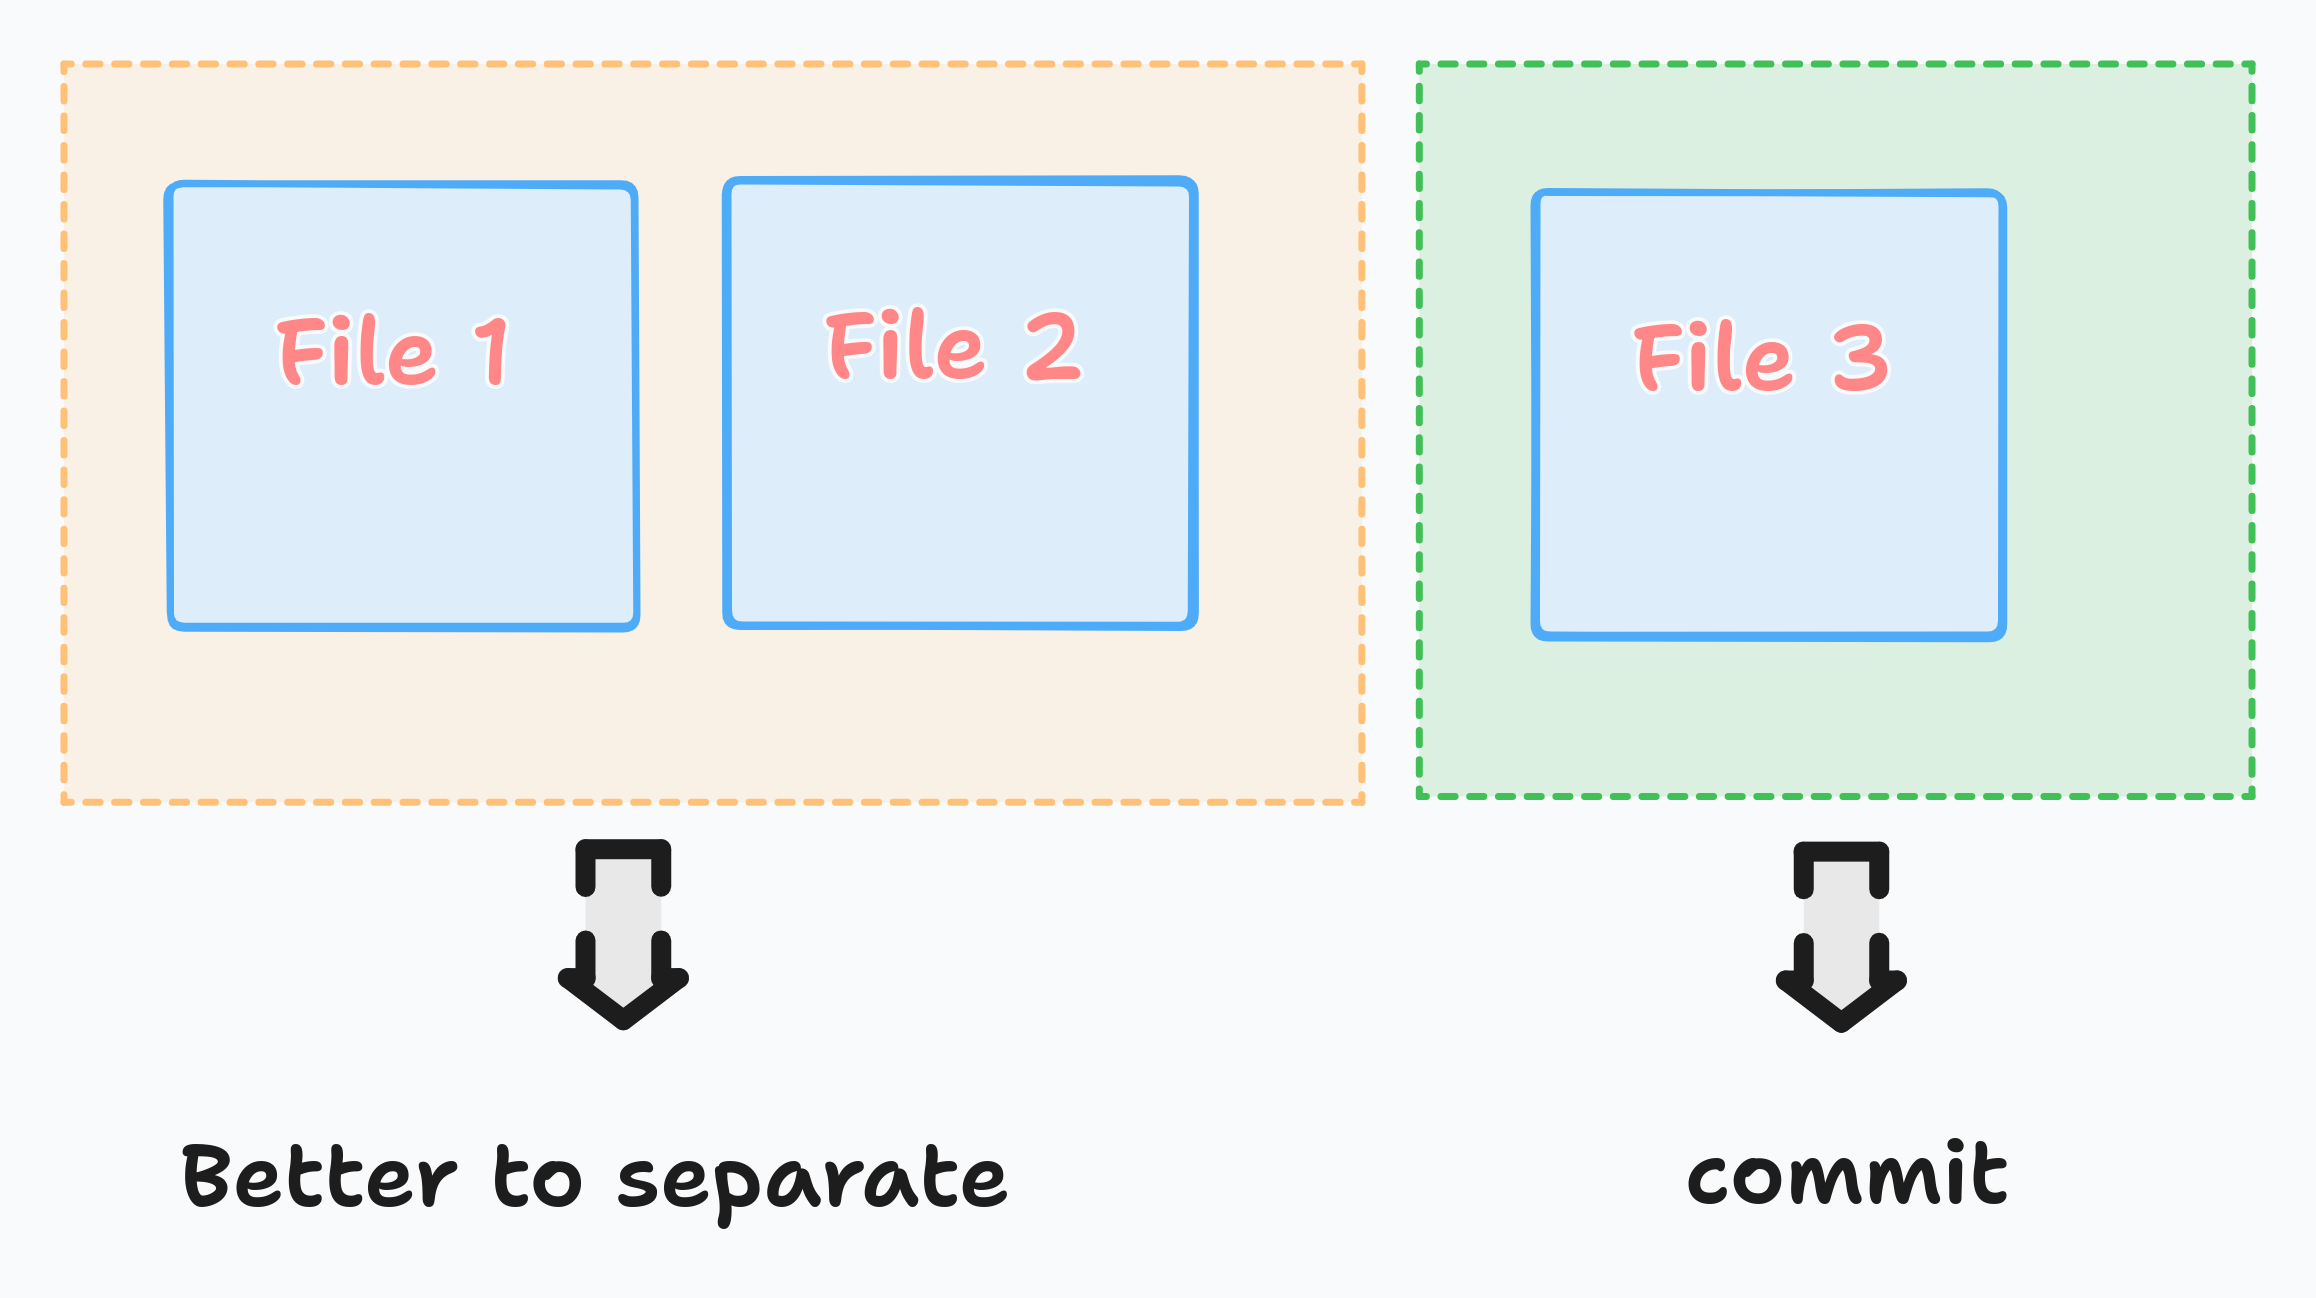
This also separates different topics. With this way it will be also easy to understand both for you and your colleagues.
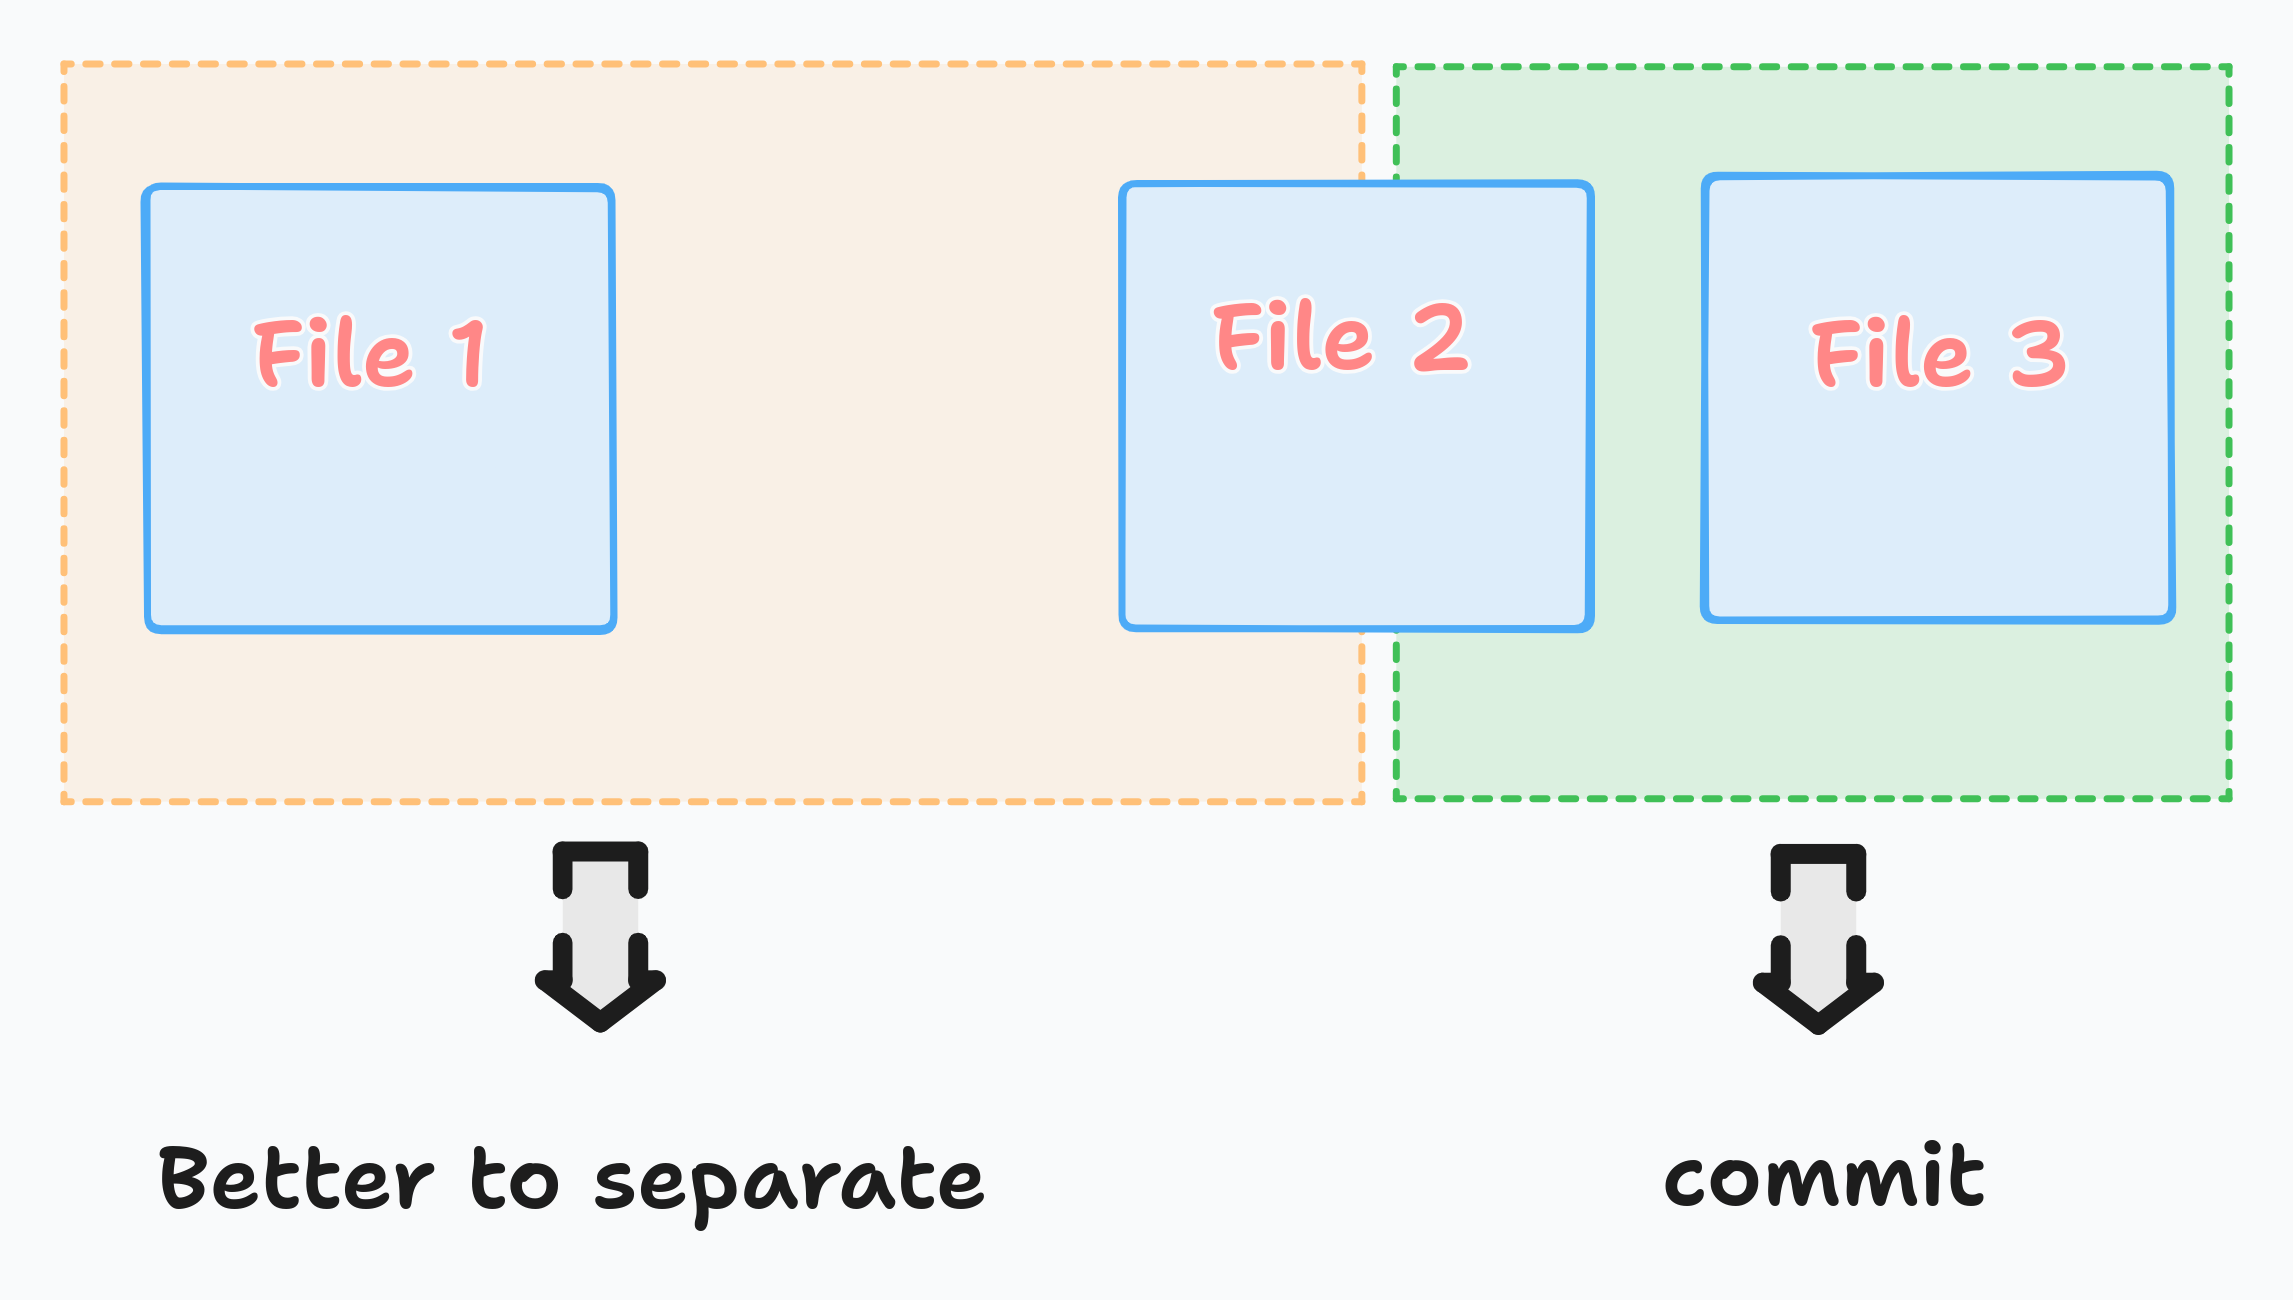
We can also commit part of the changes from a specific file using -p tag in the git add command. Let’s say we want to separate changes in the file-2 into two different commits:
Assume that you have the following index.html file:
<!DOCTYPE html>
<html lang="en">
<head>
  <meta charset="UTF-8">
  <meta name="viewport" content="width=device-width, initial-scale=1.0">
  <title>Document</title>
</head>
<body>
  <a href="/about">About</a>
  <a href="/blog">Blog</a>
</body>
</html>
And assume that you have added two more links:
<!DOCTYPE html>
<!-- ... -->
<!-- ... -->
<body>
  <a href="/about">About</a>
  <a href="/blog">Blog</a>
  <a href="/contact-us">ContactUs</a>
  <a href="/login">Login</a>
</body>
</html>
And also assume that after you run the git status you see the following changes:
--- a/index.html
+++ b/index.html
@@ -8,5 +8,7 @@
 <body>
   <a href="/about">About</a>
   <a href="/blog">Blog</a>
+  <a href="/contact-us">ContactUs</a>
+  <a href="/login">Login</a>
 </body>
 </html>
\ No newline at end of file
Now in this case parts of the index.html should be included in the “contact-us commit” and others part will be left to “login commit”
We can separate commit for the index.html using -p (adding commit in patch level)
# with this command
# git will ask whether we want to add each changes into the commit or not
git add -p index.html

--- a/index.html
+++ b/index.html
@@ -8,5 +8,7 @@
 <body>
   <a href="/about">About</a>
   <a href="/blog">Blog</a>
+  <a href="/contact-us">ContactUs</a>
 </body>
 </html>
\ No newline at end of file
(1/1) Stage this hunk [y,n,q,a,d,e,?]? y
Now let’s talk about commit messages
Our commit message in general has two characteristics:
Let’s say we are adding re-captcha to our login form. And we are going to write our commit message. Here is the example:
Note: After adding one empty space, git knows that we are going to write body of the commit message
Add recaptcha for login form

Login form now requires a recaptcha to be completed:
- login.html uses google recaptcha library
- invalid signup attempts are now blocked
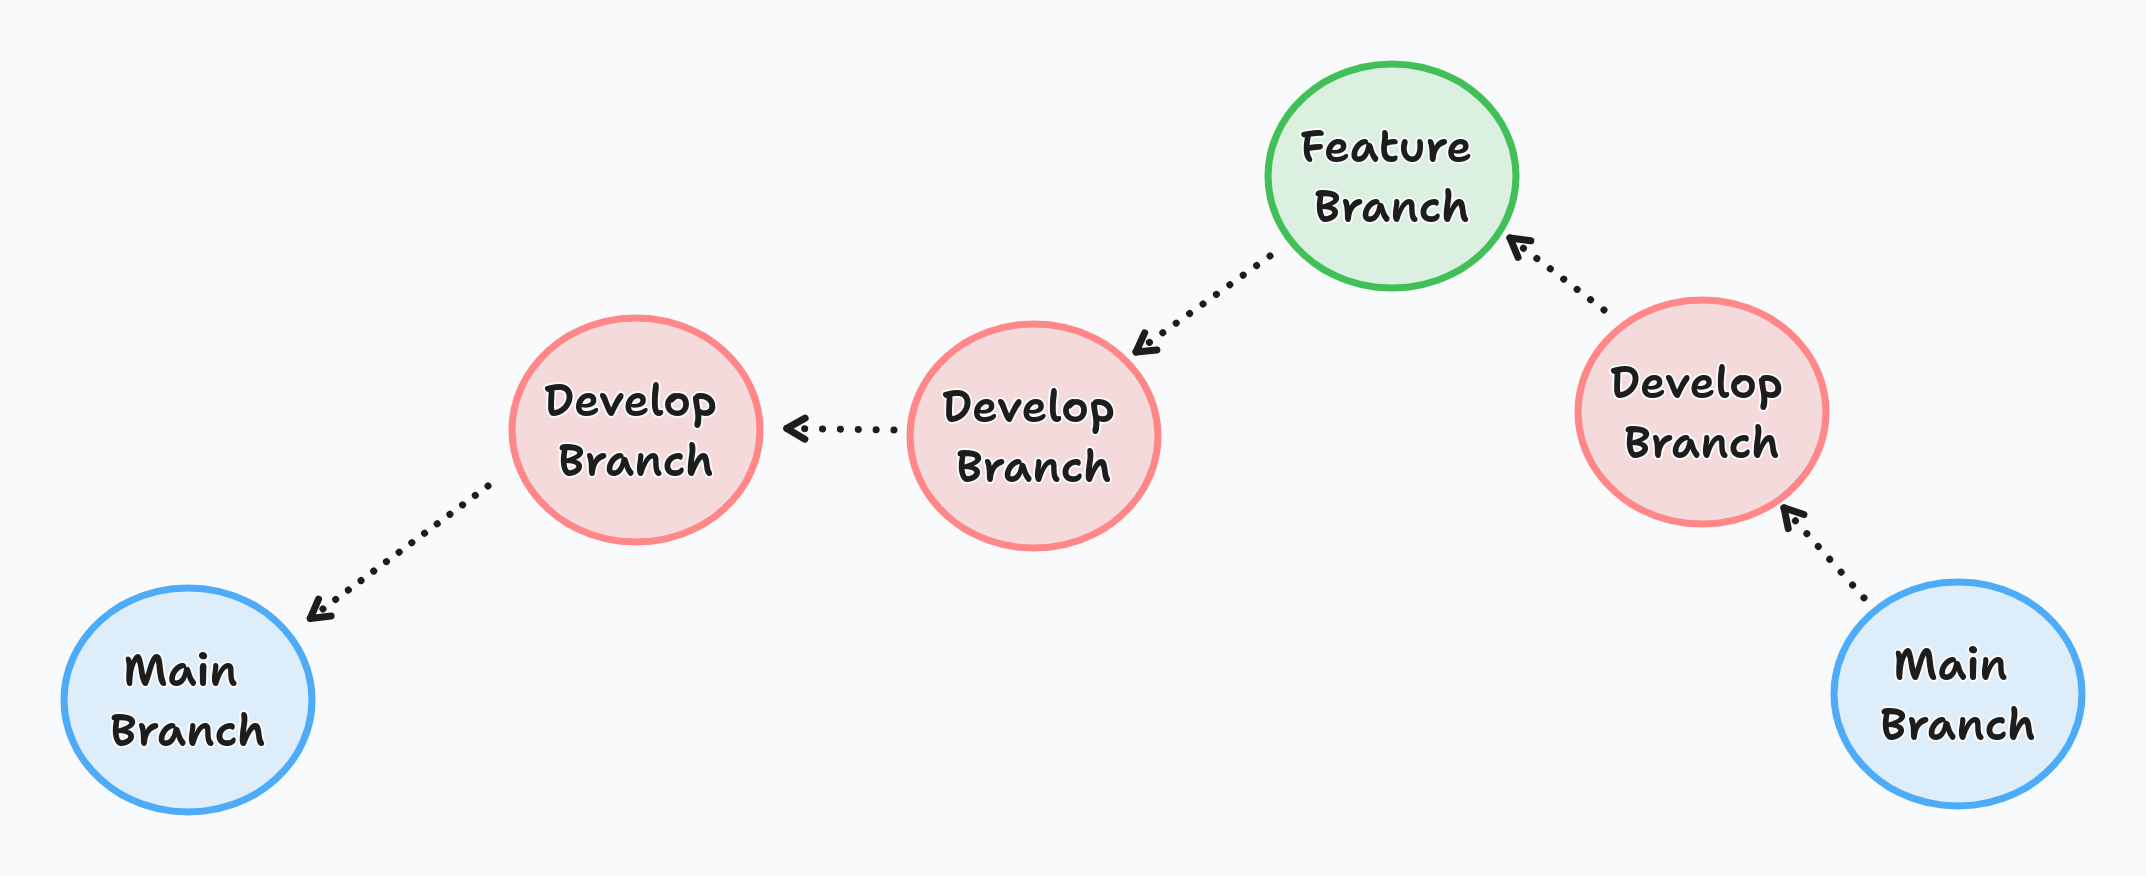
This strategy includes different types of branches. Some branches are short-lived such as feature branch, and some of them are long-lived such main.
And when there are changes in main branch, we should update our feature or other branches as well
Choosing the right strategy depends on the requirements. I can’t say that one of them is better than other. Before leaving this topic let me introduce the popular branching strategies GithubFlow & GitFlow
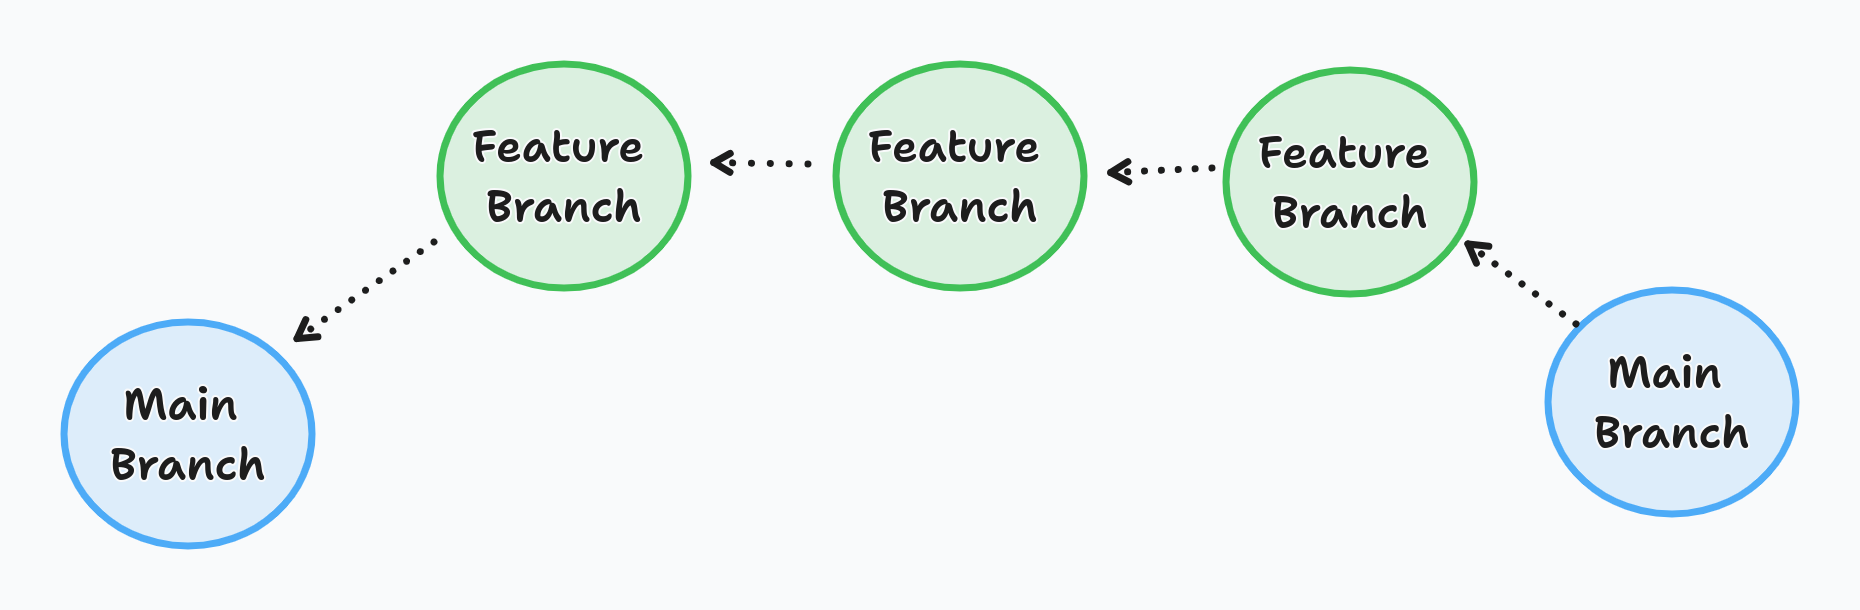
GitHub’s workflow is set up so that there is one default branch that serves as the main project and individual branches where team members can work on adding new features without compromising the default branch.
There are no branch types like bug or etc.. only features and main branch
Actually you don’t have to create any pull request while adding your implementation into your main branch, you may directly add your implementation.
Main requirement for the pull request is to review code. Because directly adding new features into main(or master) can be harmful. It is better to review and getting feedback what you did from others perspective. That’s the main reason for the pull requests.
It is also useful when you don’t have direct access the main branch. This is the another use case.
Let’s say we want to add new feature in spring boot project. However, we don’t add our implementation directly into the main branch of spring boot project. Instead we can fork the repo then create branch then add our changes then push the changes.
Forking means that we are just creating local copy for the given repository
Github repo for spring boot project https://github.com/spring-projects/spring-boot
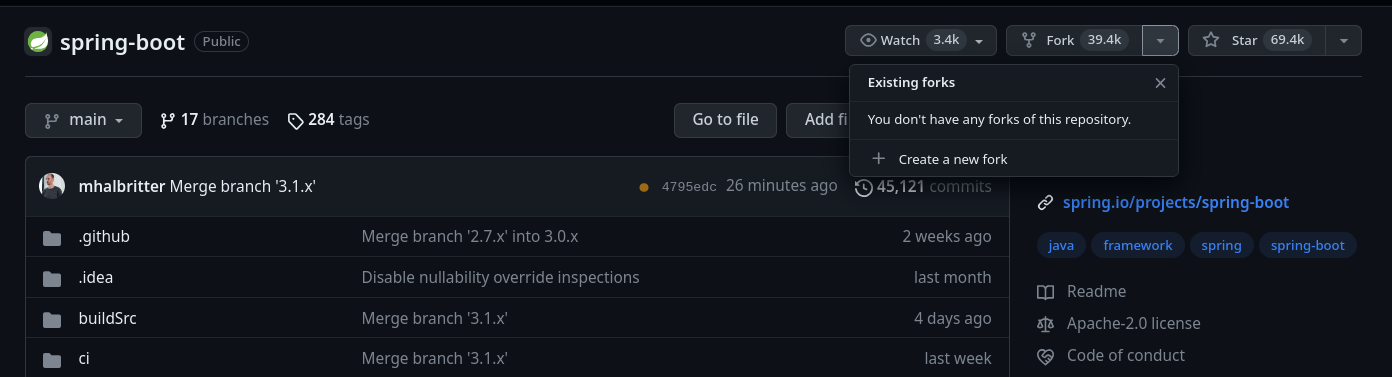
Here is the step by step example:
Lastly, let’s also talk about merge vs rebase
Both merge and rebase are designed to integrate changes from one branch into another branch.They just do it in very different ways.
It is better to understand with graphs. Let’s say we created new feature branch:
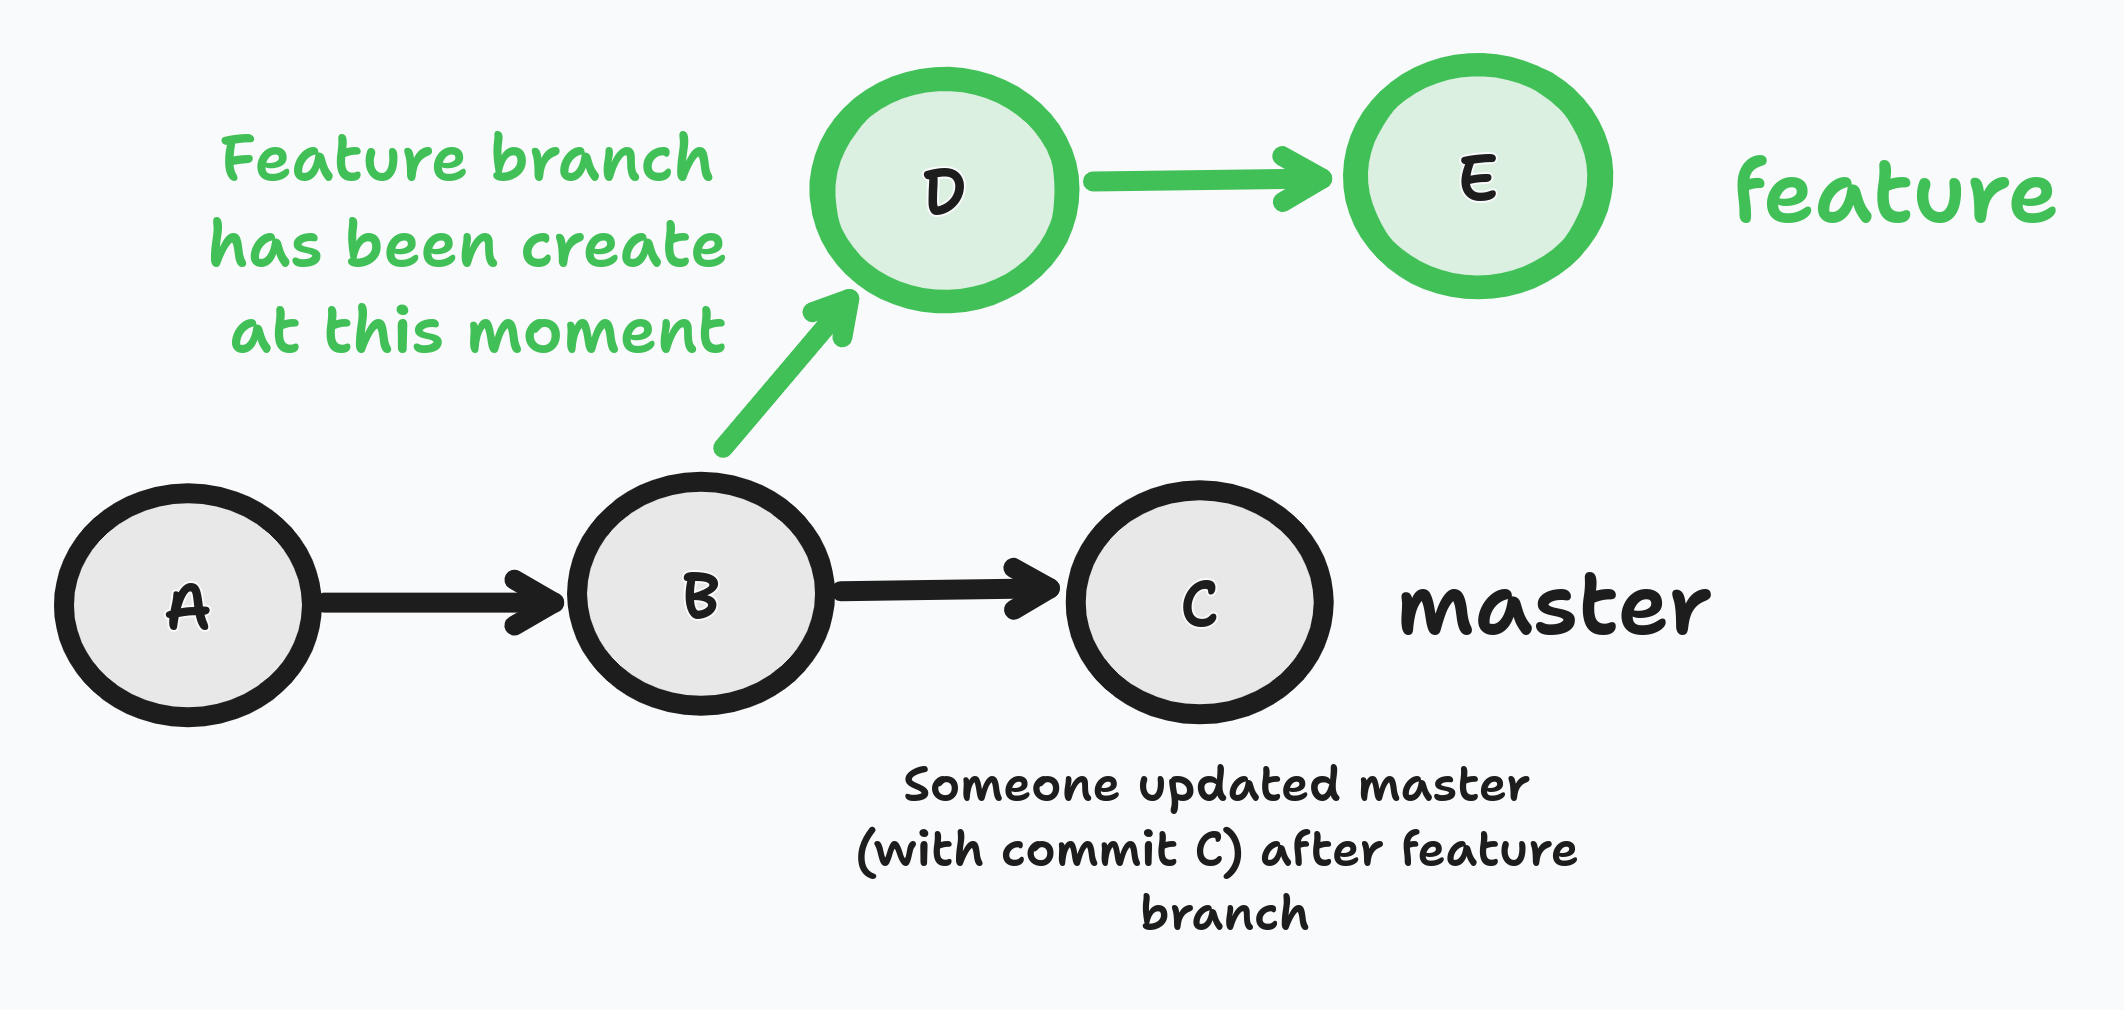
Right now let’s say we want to update master with our feature branch using merge command.
To do that basically we run the following commands:
$ git checkout master
$ git merge feature
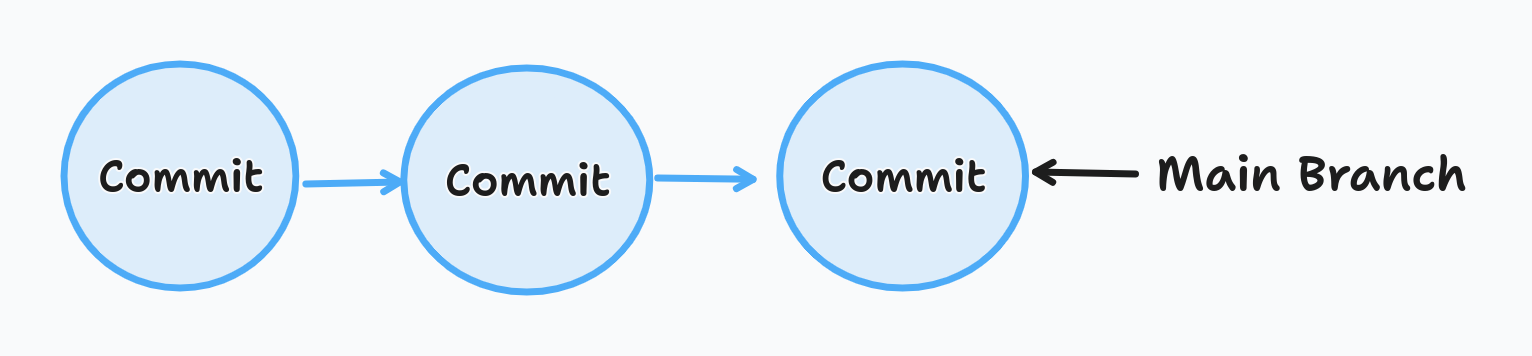
After merge command here is the history in master:
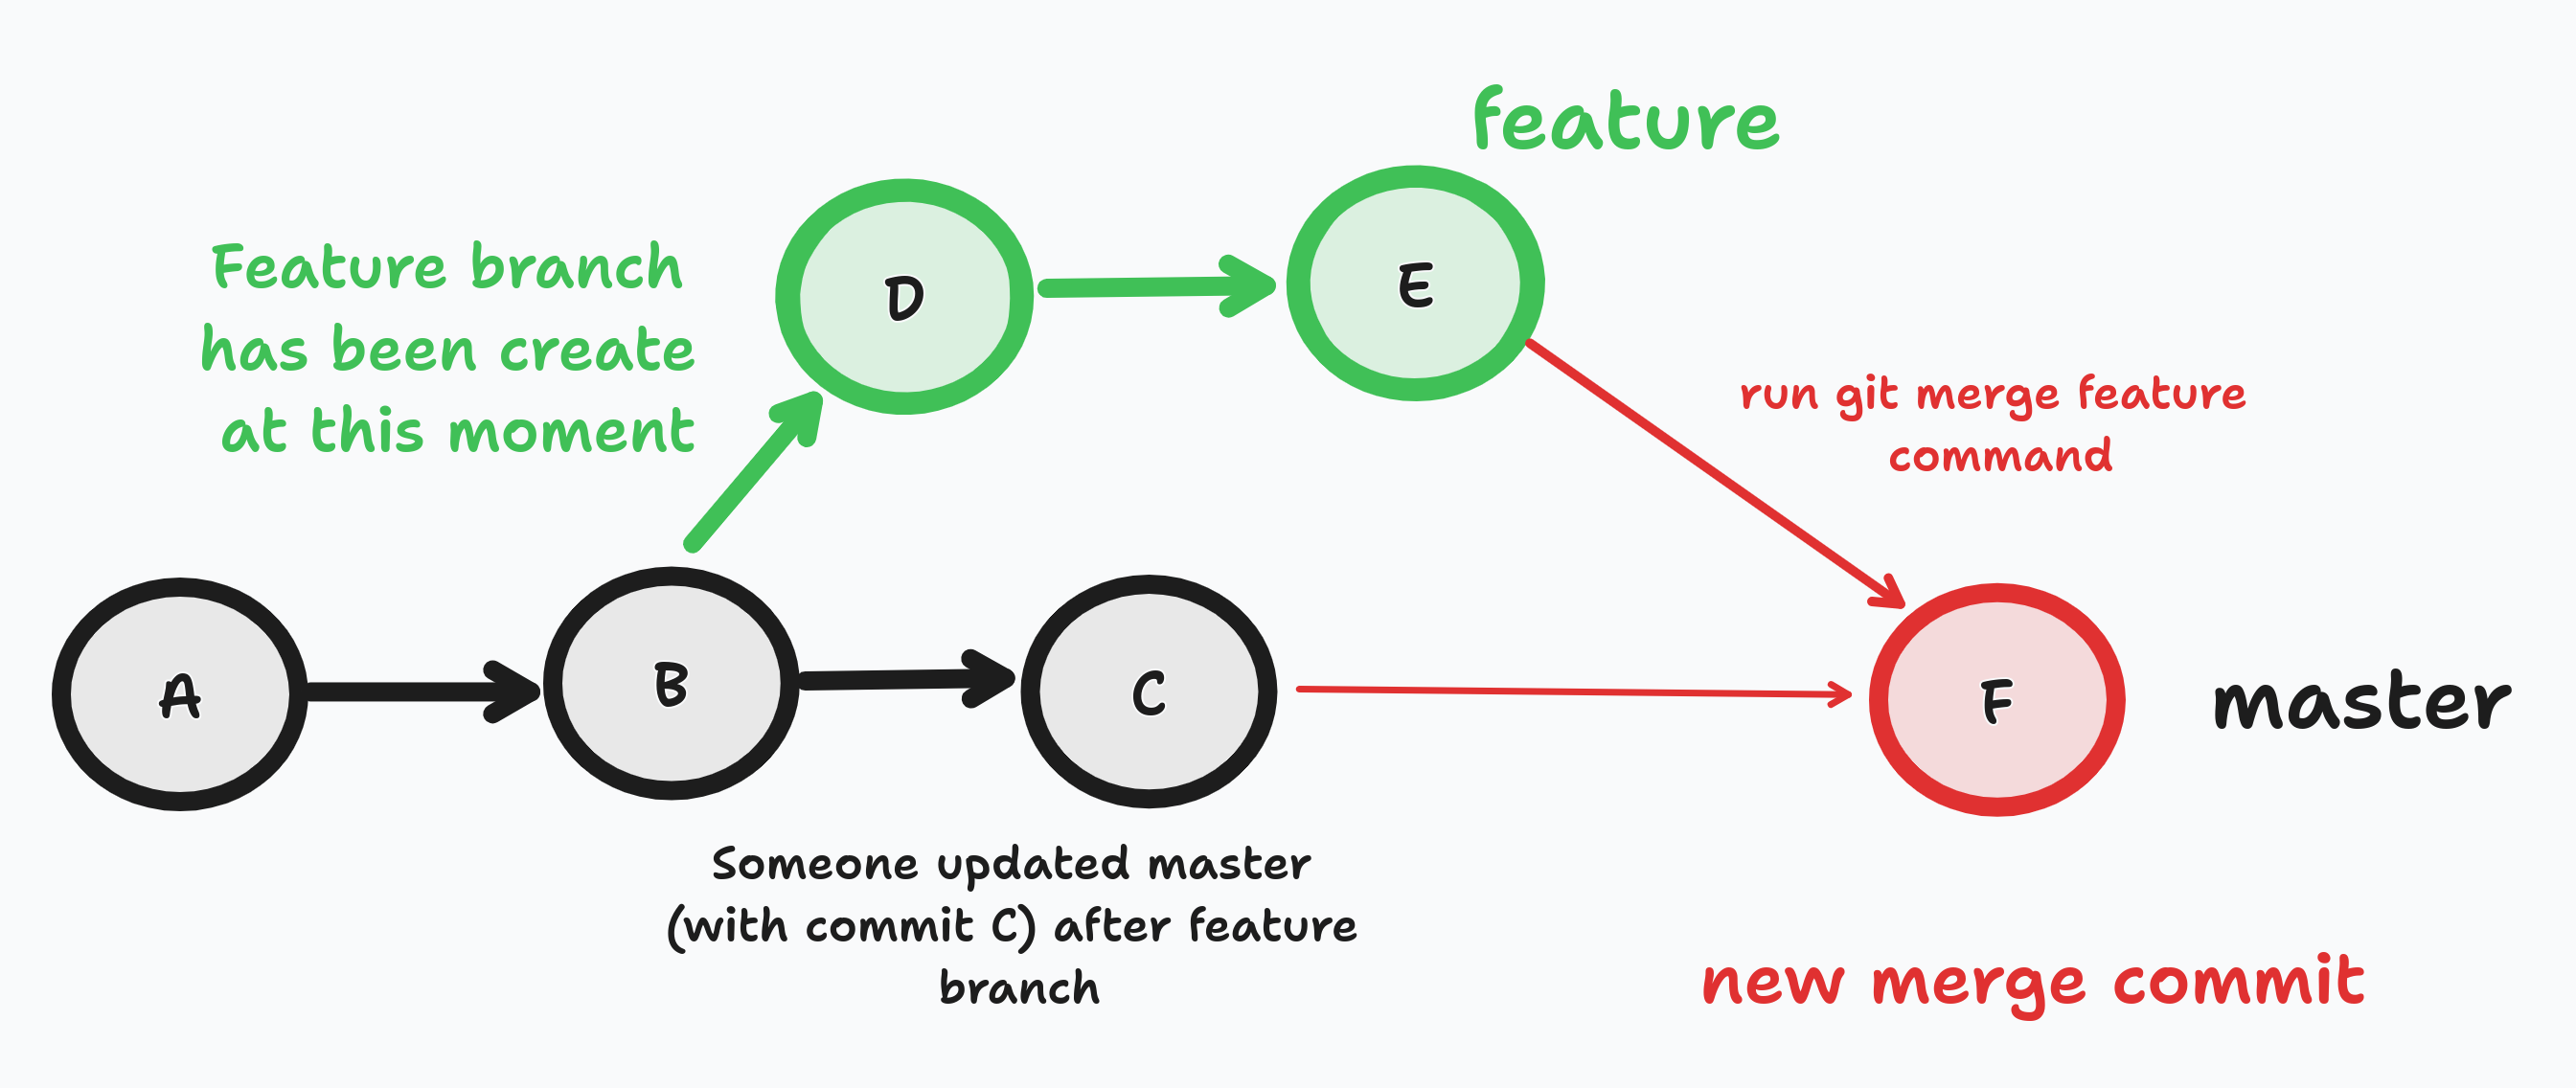
In git merge, new commit has been created which represents the integration of changes.
Advantages:
Disadvantages:
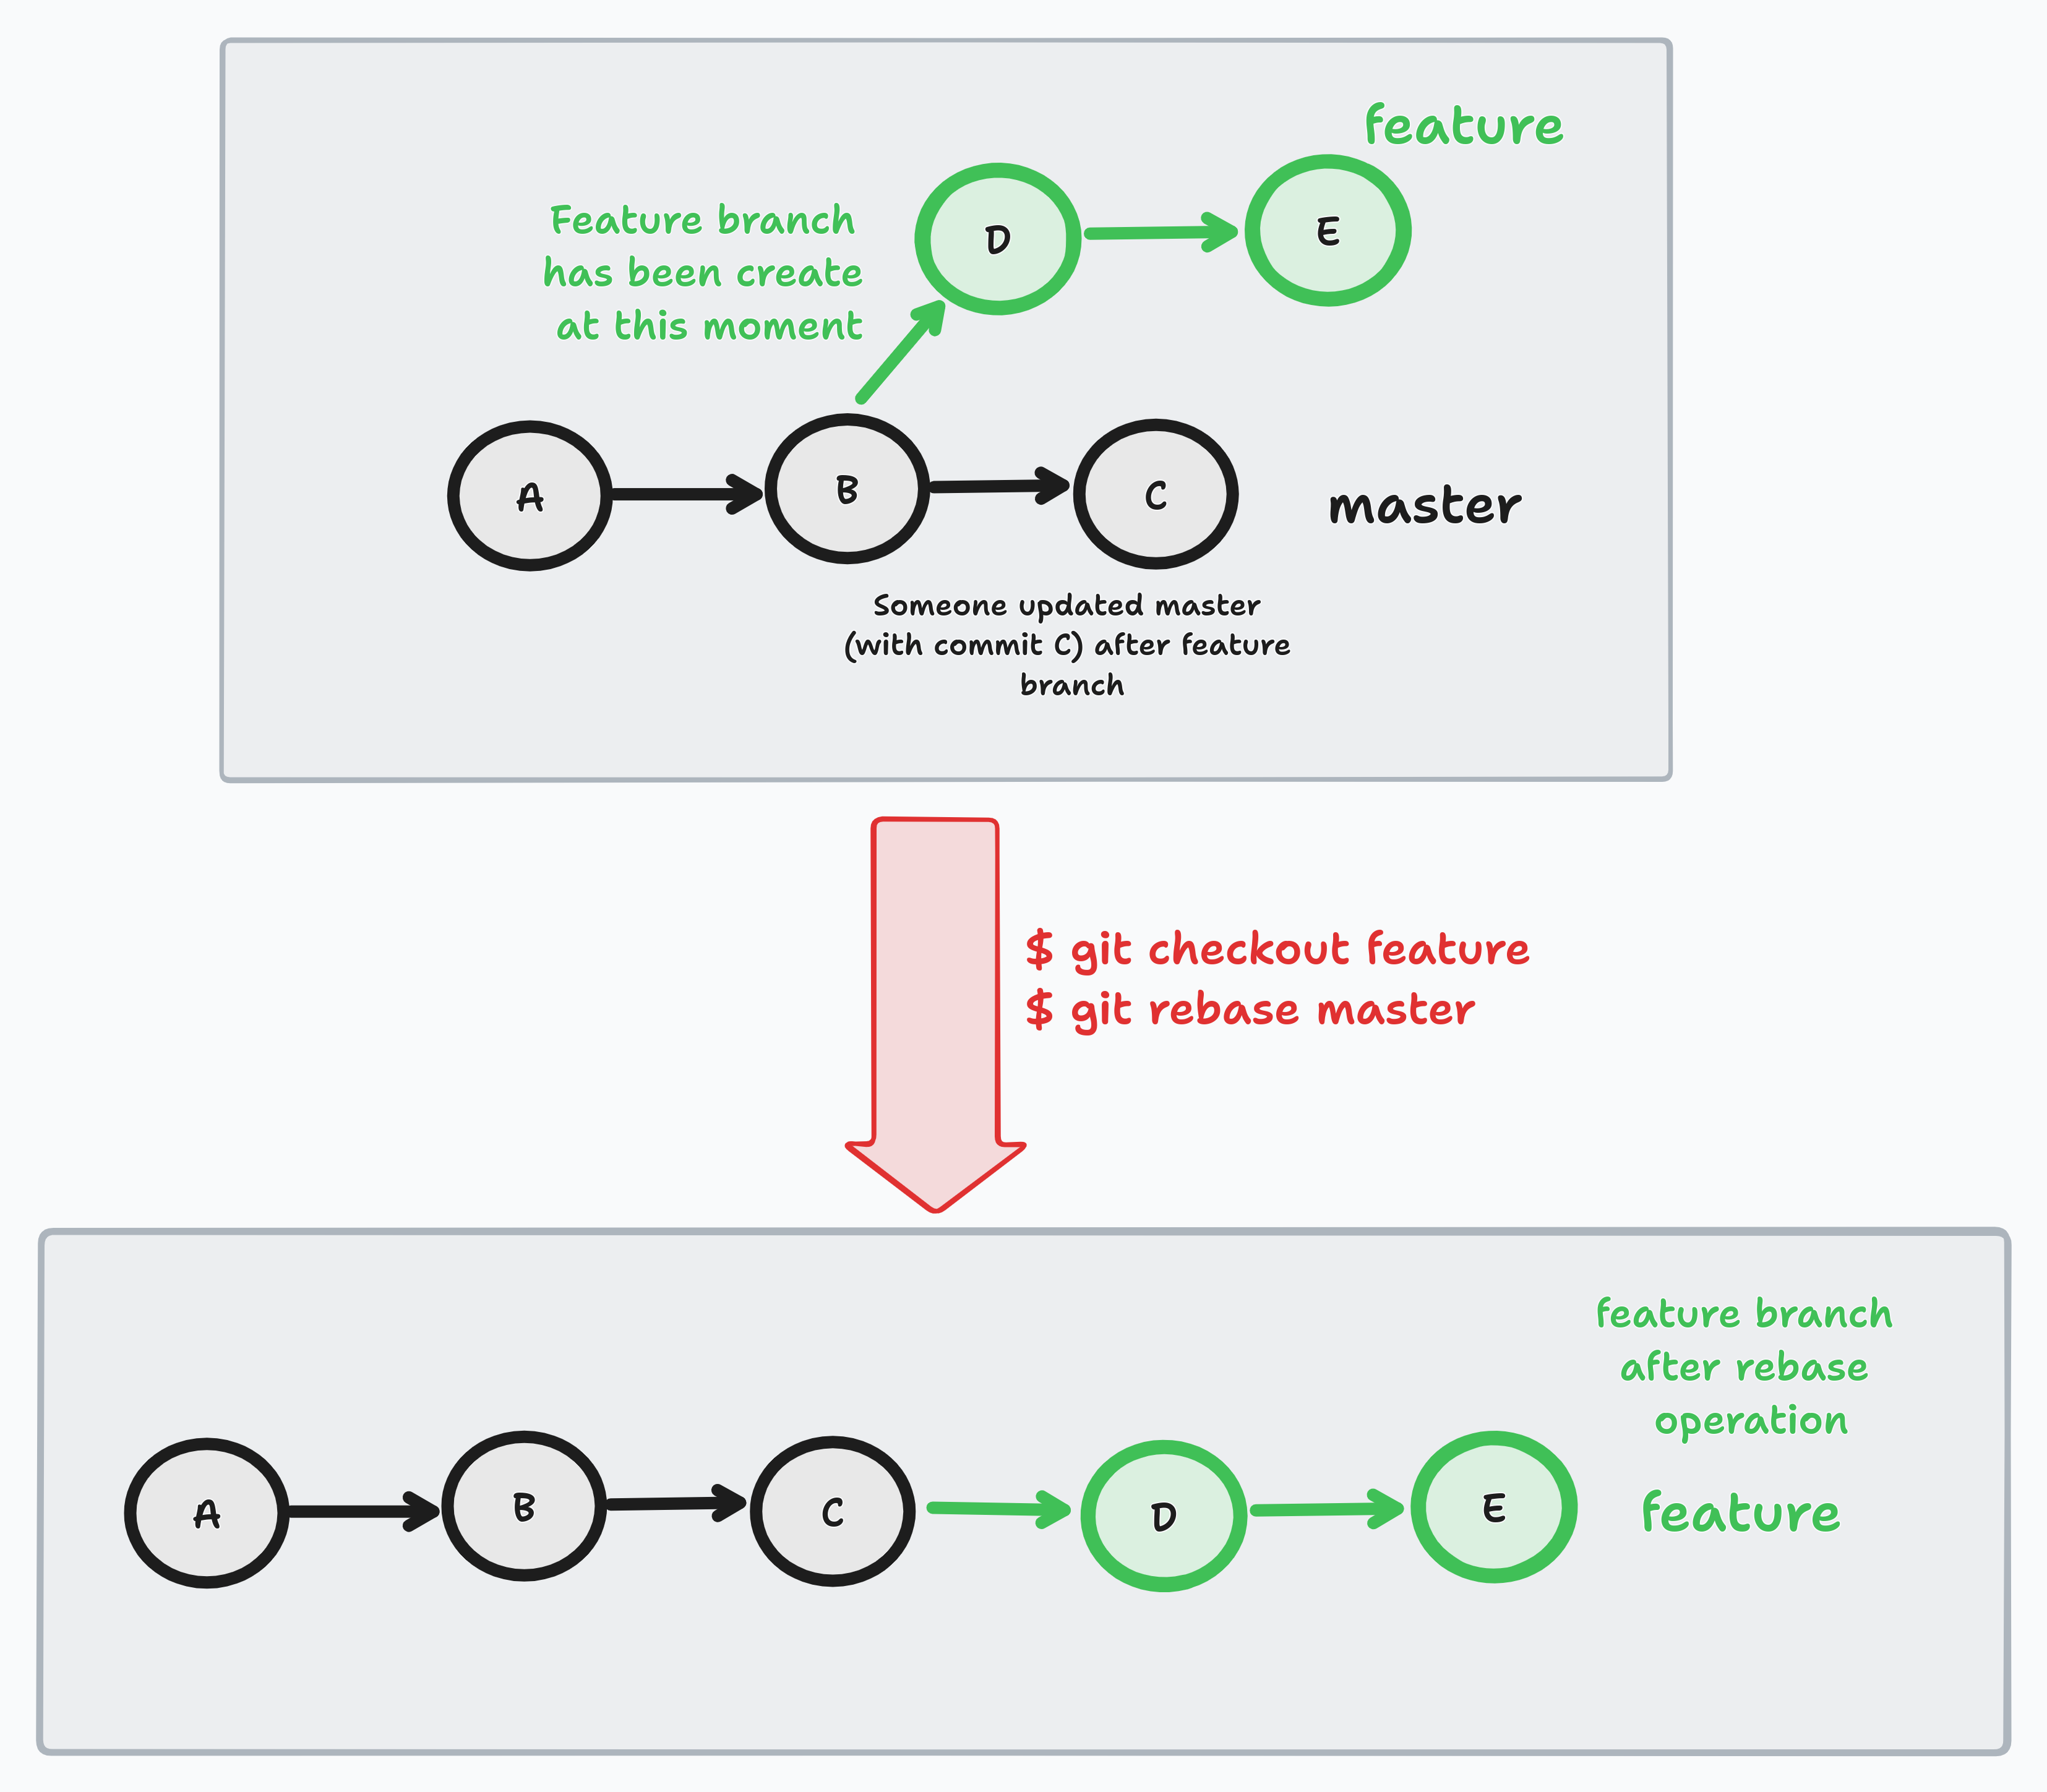
To do that basically we run the following commands: (to rebase the feature branch onto master, we have to run the following command on the feature branch)
git checkout feature
git rebase master
In distributed systems, we generally face the challenge of keeping our databases and external systems in sync. For instance when we create an order we …
Sometimes you may need to create your sql queries on runtime with some specification given by your client. In these cases, you may create many JPQLs …