Apache Flink Series 4 — DataStream API
In this post, I am going to explain DataStream API in Flink. You may see the all my notes about Apache Flink with this link When we look at the Flink …

In this post, we are creating simple Flink cluster own local machine.
Before diving into creating cluster, configuration and etc.. let’s summarize what are the steps to create cluster and deploying job to Flink.
Typically, when you want to create cluster and submit your job to the Flink, you should follow these steps:
Don’t forget to download the latest version of Apache Flink https://archive.apache.org/dist/flink/flink-1.10.0/ . If you are going to download source file, you will need to do additional things. My advice download the apache-flink-1.10.0.tar.gz file and use it directly.
We have 3 options:
For our example, I will use option 2 with standalone(I don’t know YARN & Hadoop environment very well). Option 1 is not for real cases, for option 3, I don’t know how GCE and EC2 works.
You may ask how you are going to form a cluster with a single machine? For our example, JobManager and TaskManager(we will have one) will run the on same machine.
Note: Ideally you should have one flink process instance per machines. Other solutions (like I said before) may lead(most probably) to memory problem(insufficient memory exception).
Now, let me talk about the standalone mode a little bit:
After downloading Flink, go to the your flink path and go to deps/bin folder:
$ cd pathToFlink/apache-flink-1.10.0/bin
Then start the script called start-cluster.sh
$ ./start-cluster.sh
Starting cluster.
Starting standalonesession daemon on host Mehmets-MacBook-Pro.local.
Starting taskexecutor daemon on host Mehmets-MacBook-Pro.local.
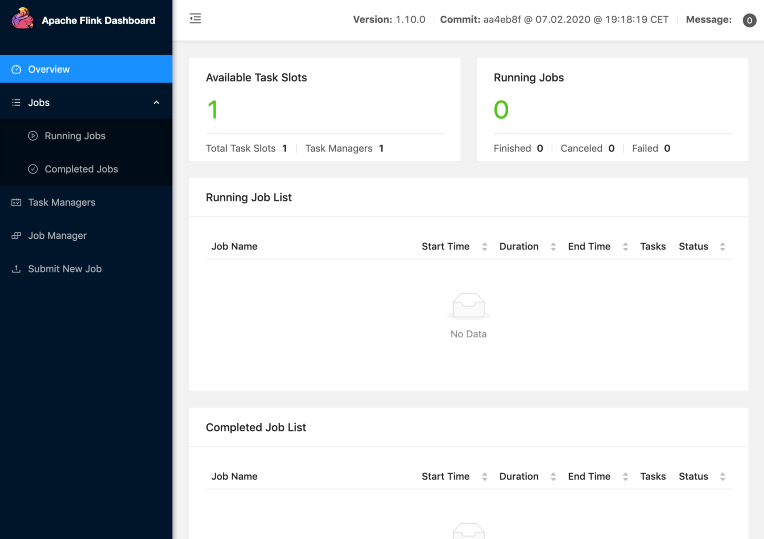
After that open the address localhost:8081, and you should see the screen like this one:

Now you are ready to go, your flink cluster is up and running.
To stop Flink (and cluster also), run the script in the bin folder:
$ ./stop-cluster.sh
Stopping taskexecutor daemon (pid: 94909) on host Mehmets-MacBook-Pro.local.
Stopping standalonesession daemon (pid: 94648) on host Mehmets-MacBook-Pro.local.
And also make sure that all processes about Flink is not running. You can check the running processes about flink via:
$ ps -ef | grep flink
You may ask how flink knows taskmanager, jobmanager address and also how it knows that we are going to create jobmanager and taskmanager on the same machine?
This setup part will answer these questions and more. But before that let’s point to the some important files in the Flink folder.
bin folder contains the scripts for creating cluster or stopping, starting taskmanager, jobmanager and etc…
log folder contains log file for taskmanager if machine is a taskmanager or jobmanager if machine is a jobmanager. For our example, it contains logs for both taskmanager and jobmanager.
lib folder contains additional jar files that flink will need at runtime.
conf folder contains configuration files for flink, log.properties, zookeeper setup etc…
Most of the time you are going to deal with conf folder and your stream job.
conf folder includes the following files:
Let’s look at the default configuration:
# JobManager ip address to communicate with it. Use this key if you have one master node with static location. Don't use it for highly available system.

jobmanager.rpc.address: localhost

# Determine the communication port for JobManager

jobmanager.rpc.port: 6123

# The heap size for the JobManager JVM

jobmanager.heap.size: 1024m

# The total process memory size for the TaskManager.
#
# Note this accounts for all memory usage within the TaskManager process, including JVM metaspace and other overhead.

taskmanager.memory.process.size: 1568m

# The number of task slots that each TaskManager offers. Each slot runs one parallel pipeline. This number is related to the CPU number of you machine. If your machine has 16 CPUs, you can write 16 for this key.

taskmanager.numberOfTaskSlots: 1

# The parallelism used for programs that did not specify and other parallelism. When you deploy your stream job, stream job will have parallelism of 1 by default, you can re-write this key when deploying job from dashboard.
# However be careful that stream parallelism is not higher than the total number taskmanager slot

parallelism.default: 1
# this file contains the address of taskmanager
# in this case, when we say ./start-cluster.sh,
# this will trigger to start taskmanager in the ip address localhost

localhost
Overall, we will have JobManager (localhost:6123) and TaskManager(localhost) on the machine.
Let’s modify the configuration and see the changes (make sure that you stopped to cluster)
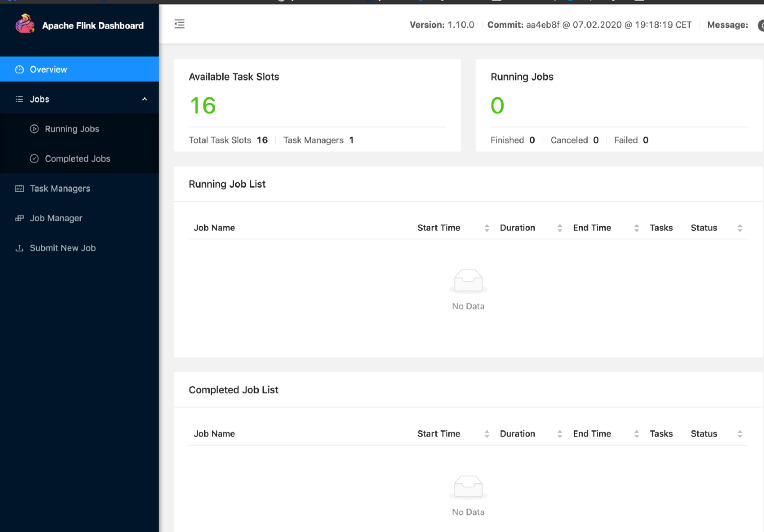
Learn your cpu number and update this line in the flink-conf.yaml (my computer has 16 CPUs)
...
# now i can run 16 parallel works at the same
taskmanager.numberOfTaskSlots: 16
...
Then, start your cluster and open the dashboard:

I will continue with part 2 from step 3
Last but not least, wait for the next post …

In this post, I am going to explain DataStream API in Flink. You may see the all my notes about Apache Flink with this link When we look at the Flink …

In this post, I am going to explain “Components of Flink”, “Task Execution”, “Task Chaining”, “Data Transfer”, “Credit-Based Flow Control”, “State …